For my senior design project, I had to cut out a large part that can hold water. After seeing the foam CNC machine in the Sculpture lab, I thought it would be the easiest to manufacture this part out of foam and using the CNC machine to get the desired shape. Here is the process of Prof. Meiser and I setting the machine up and getting the final shape.
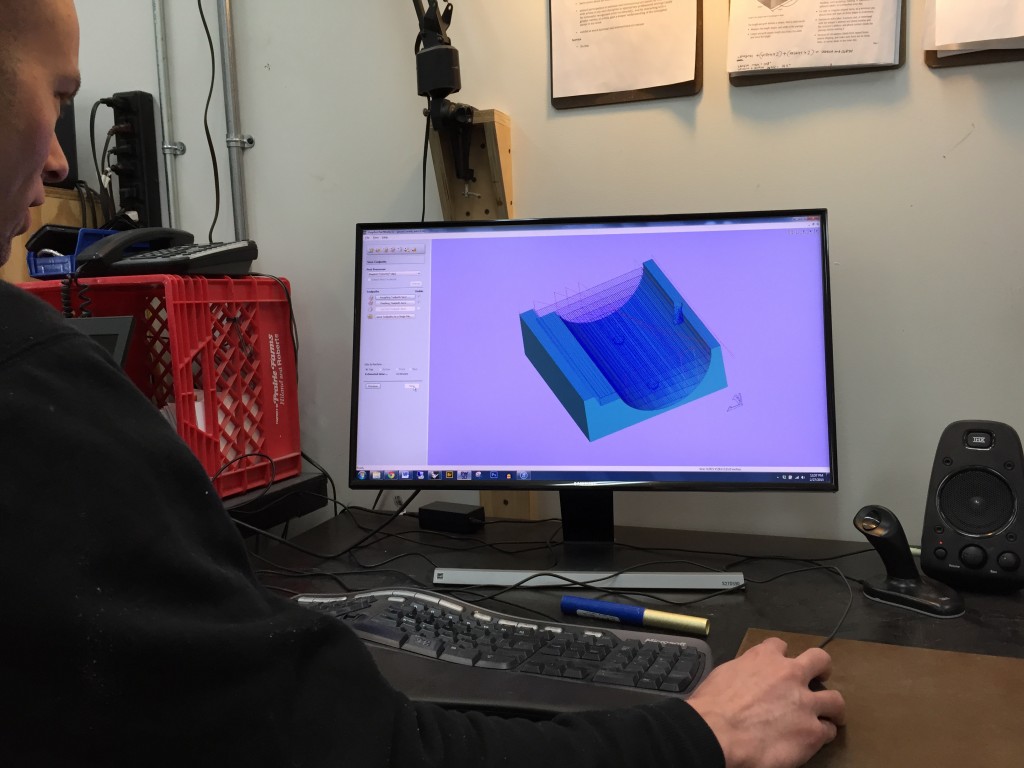
Figure 1. The CAD drawing was uploaded to the CNC program and the uncut foam block was drawn over it.
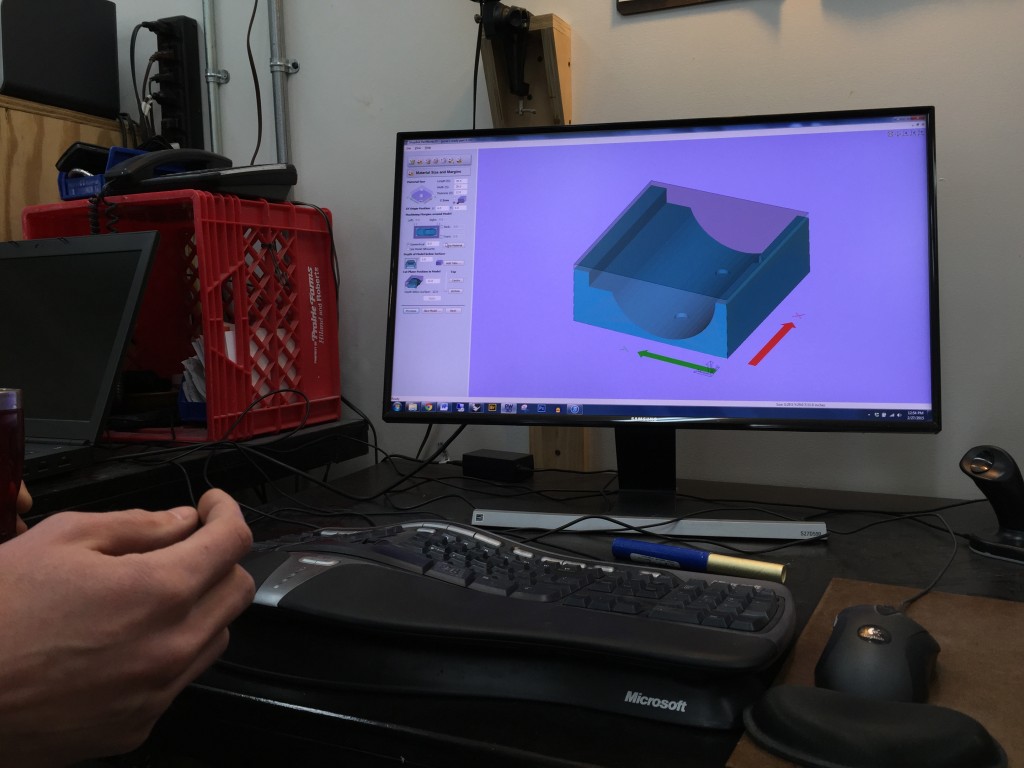
Figure 2. Setting the axis and the zero point
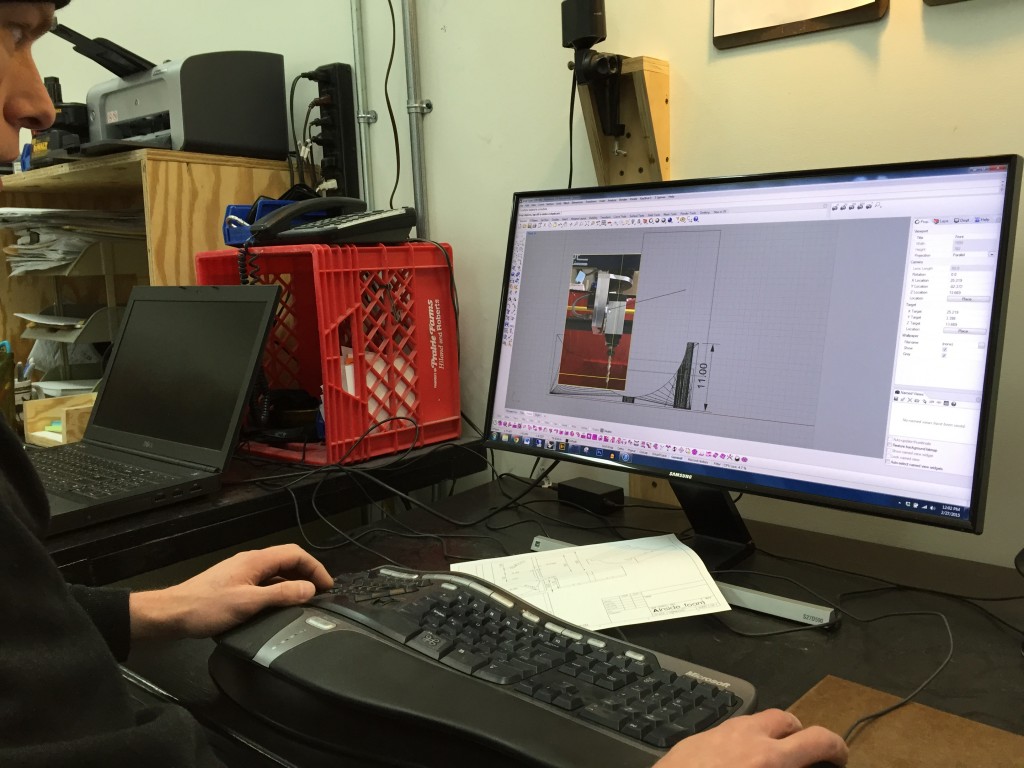
Figure 3. Measuring the length of the drill bit and seeing how far it can go down into the part
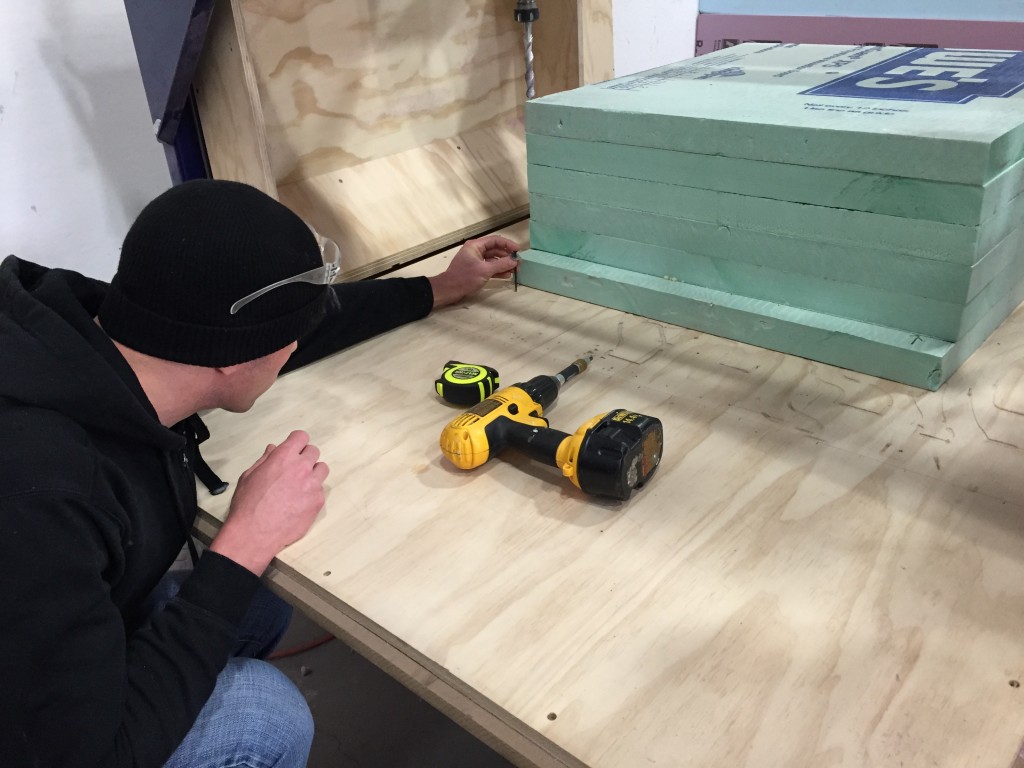
Figure 4. Fixing the foam block to the board
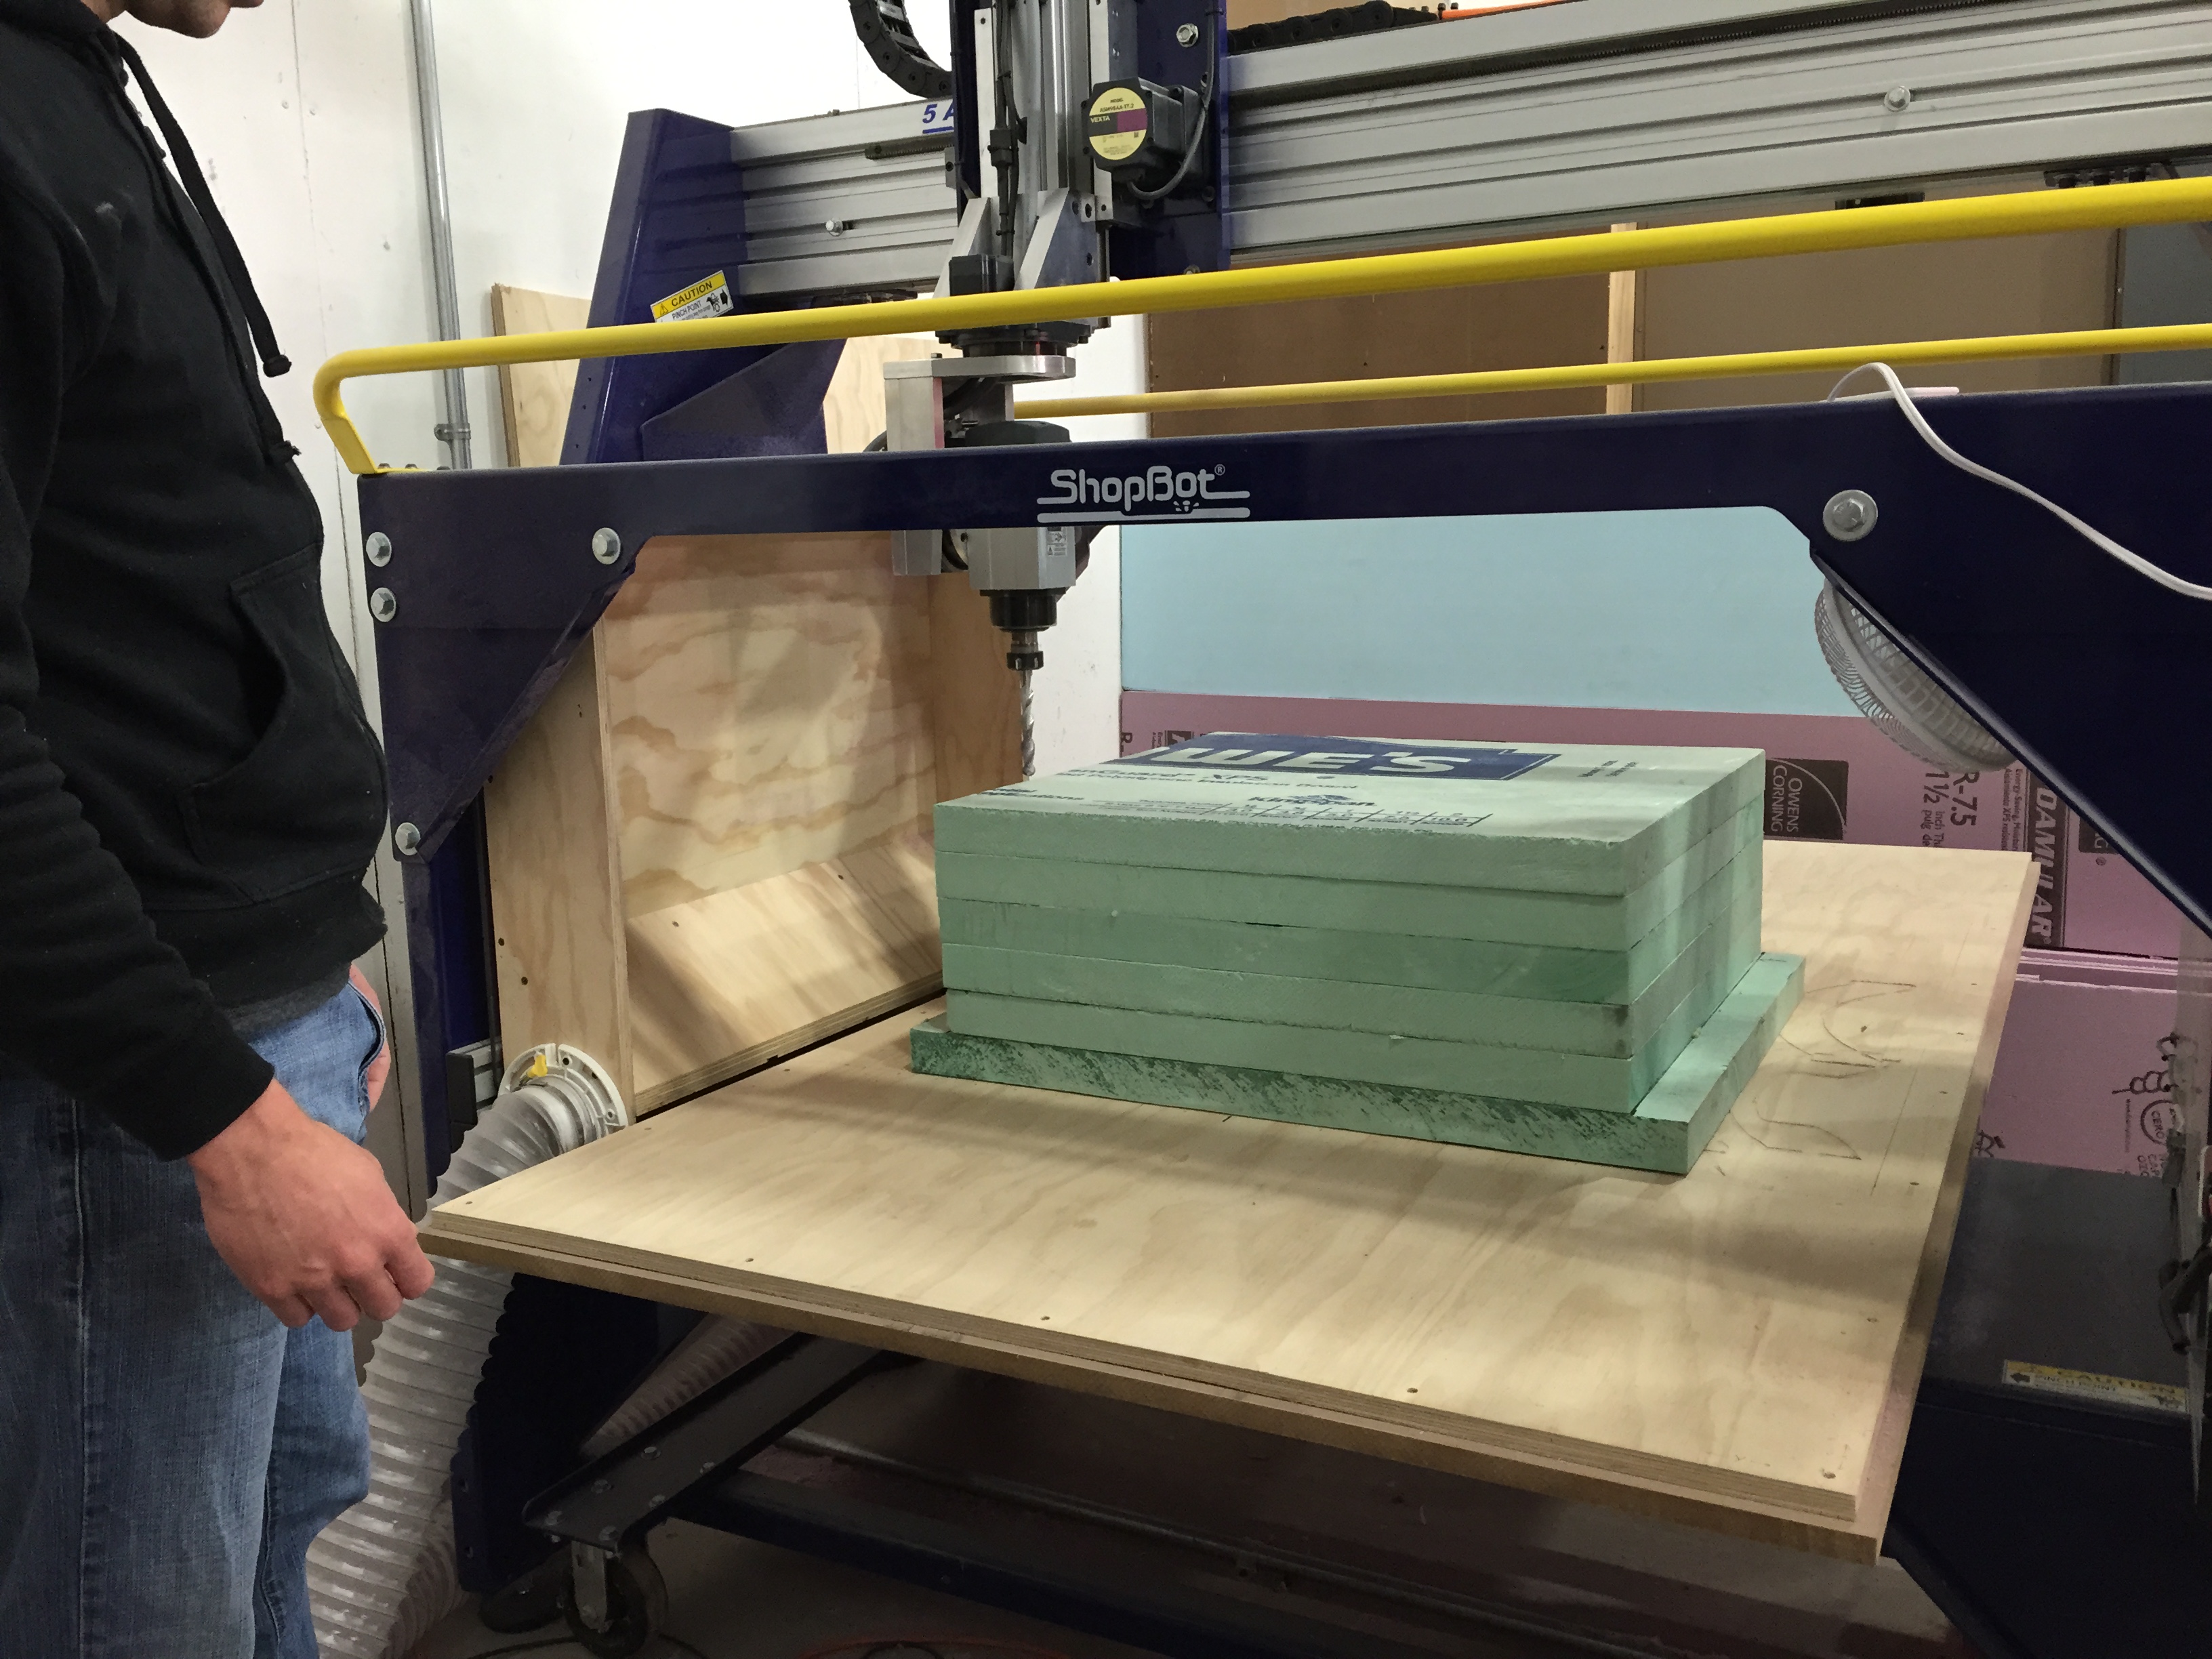
Figure 5. Checking to see if the drill head can reach the maximum travel
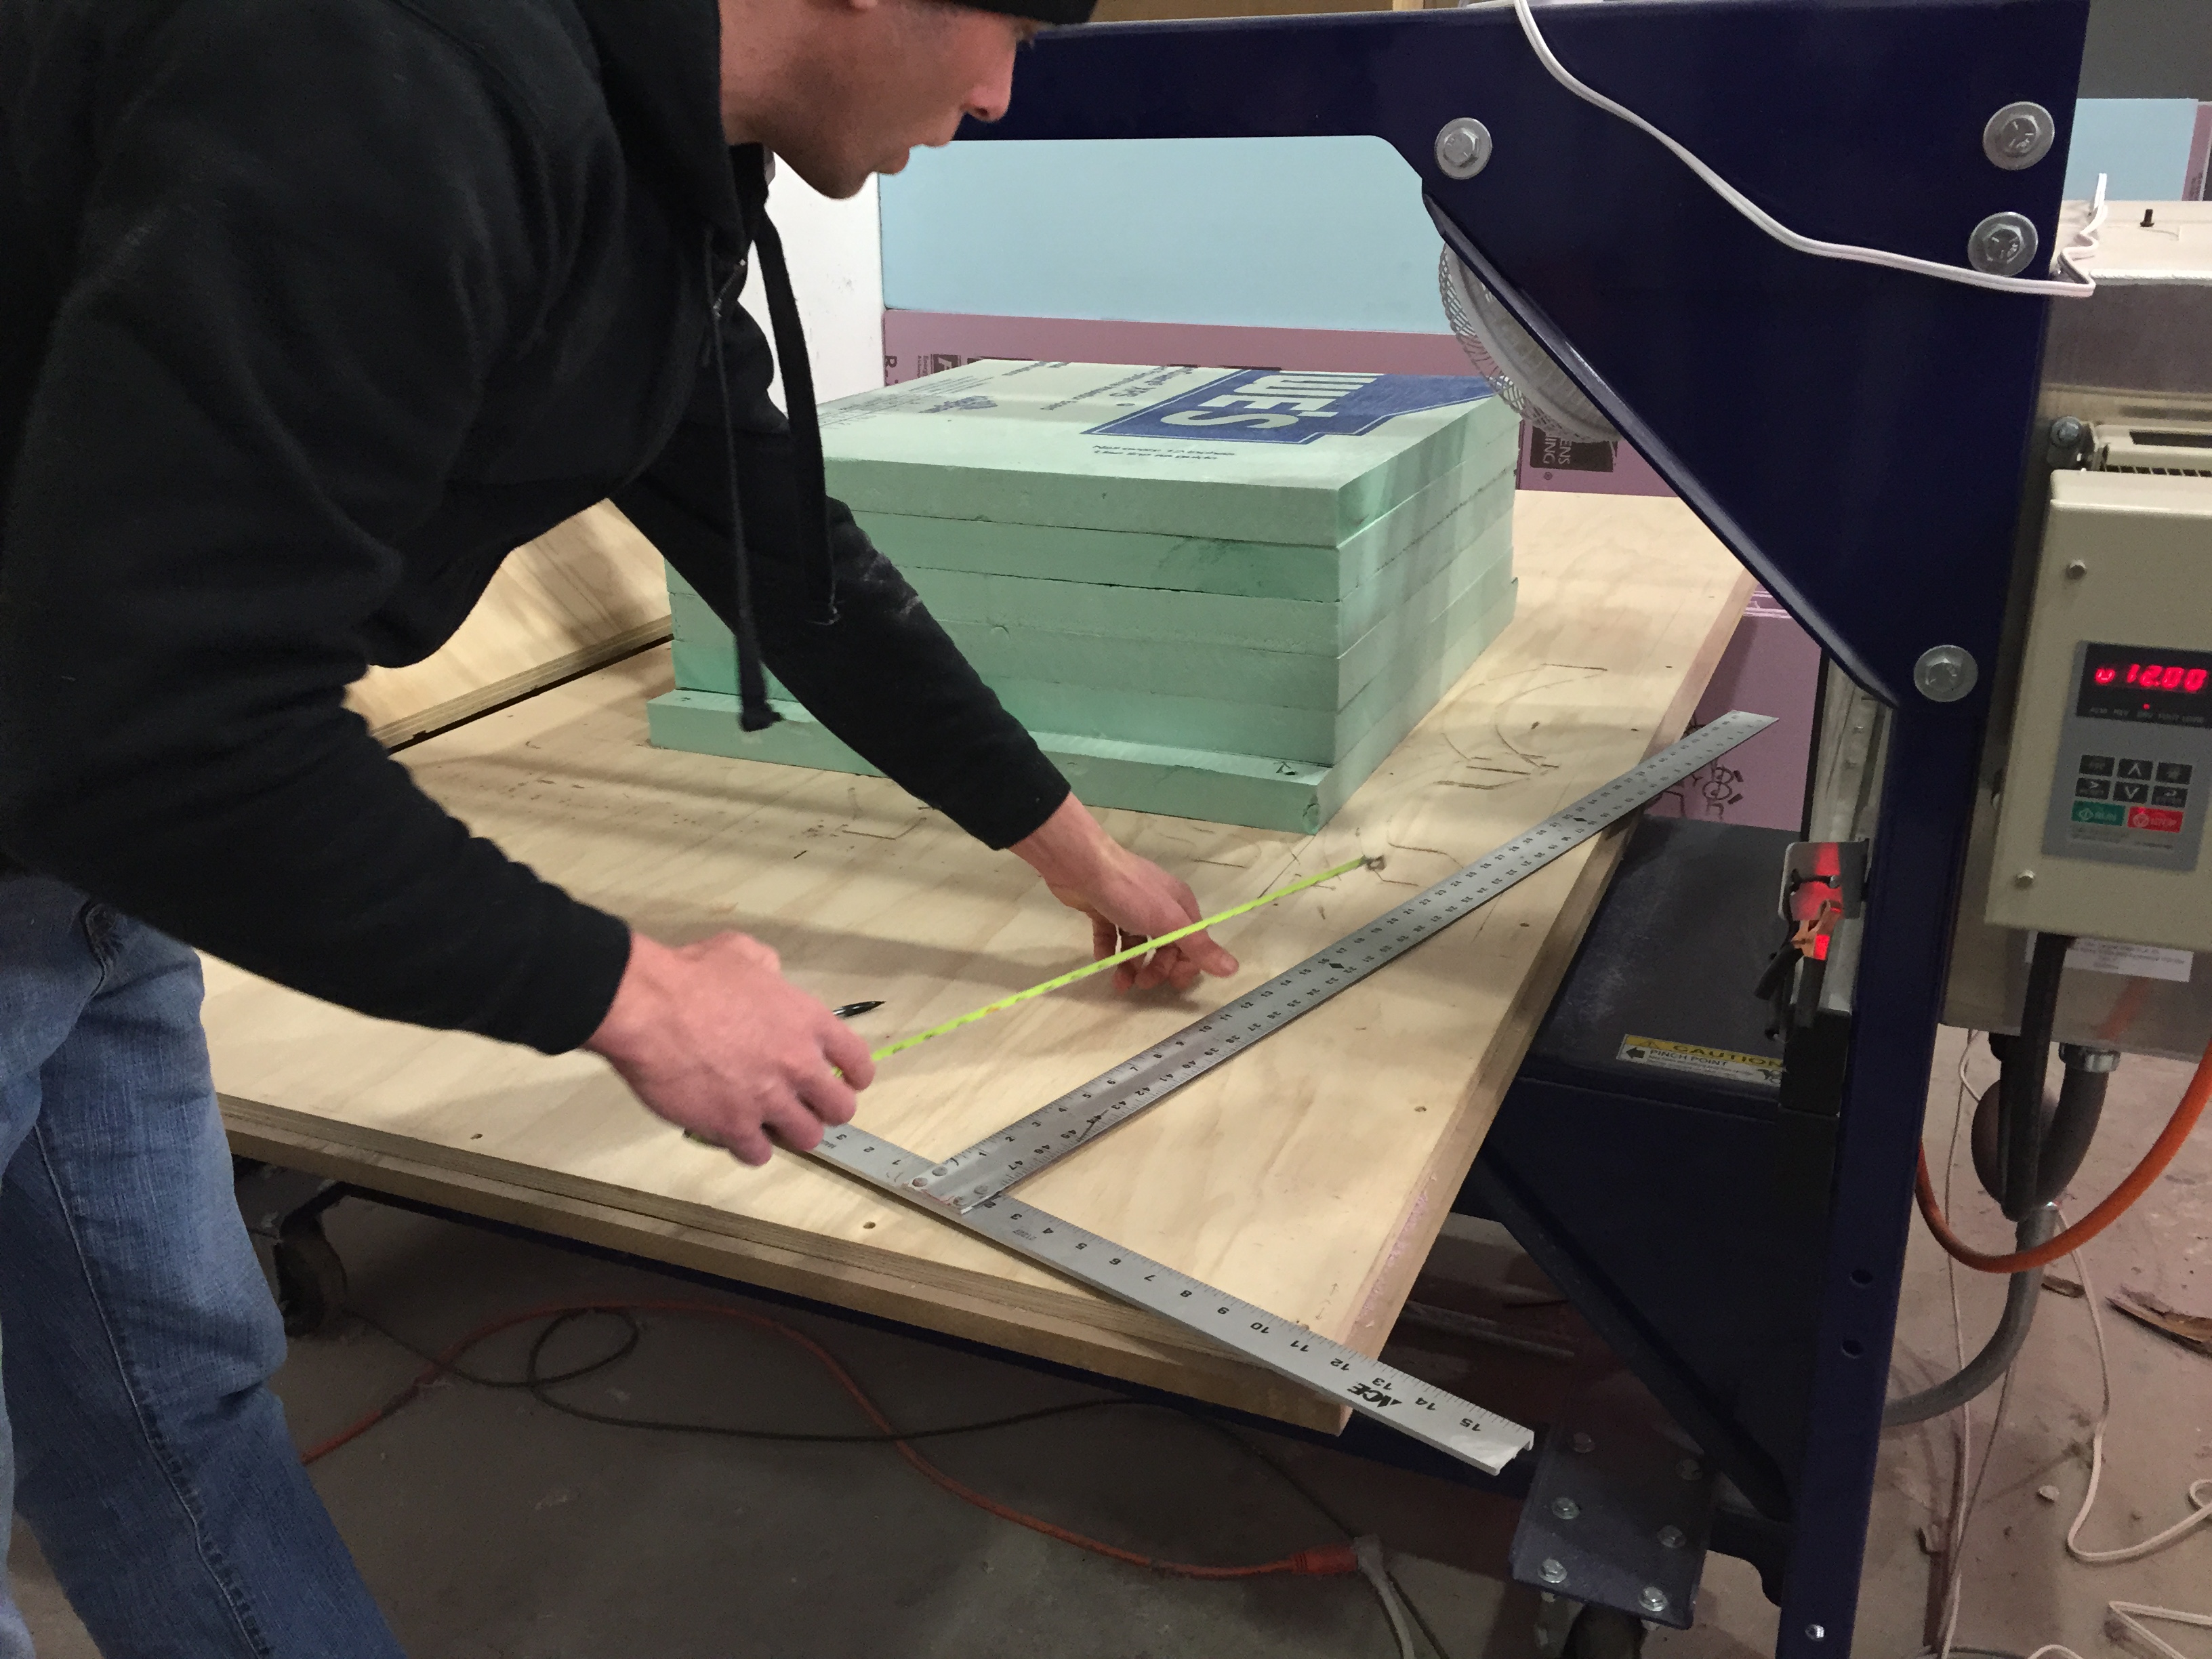
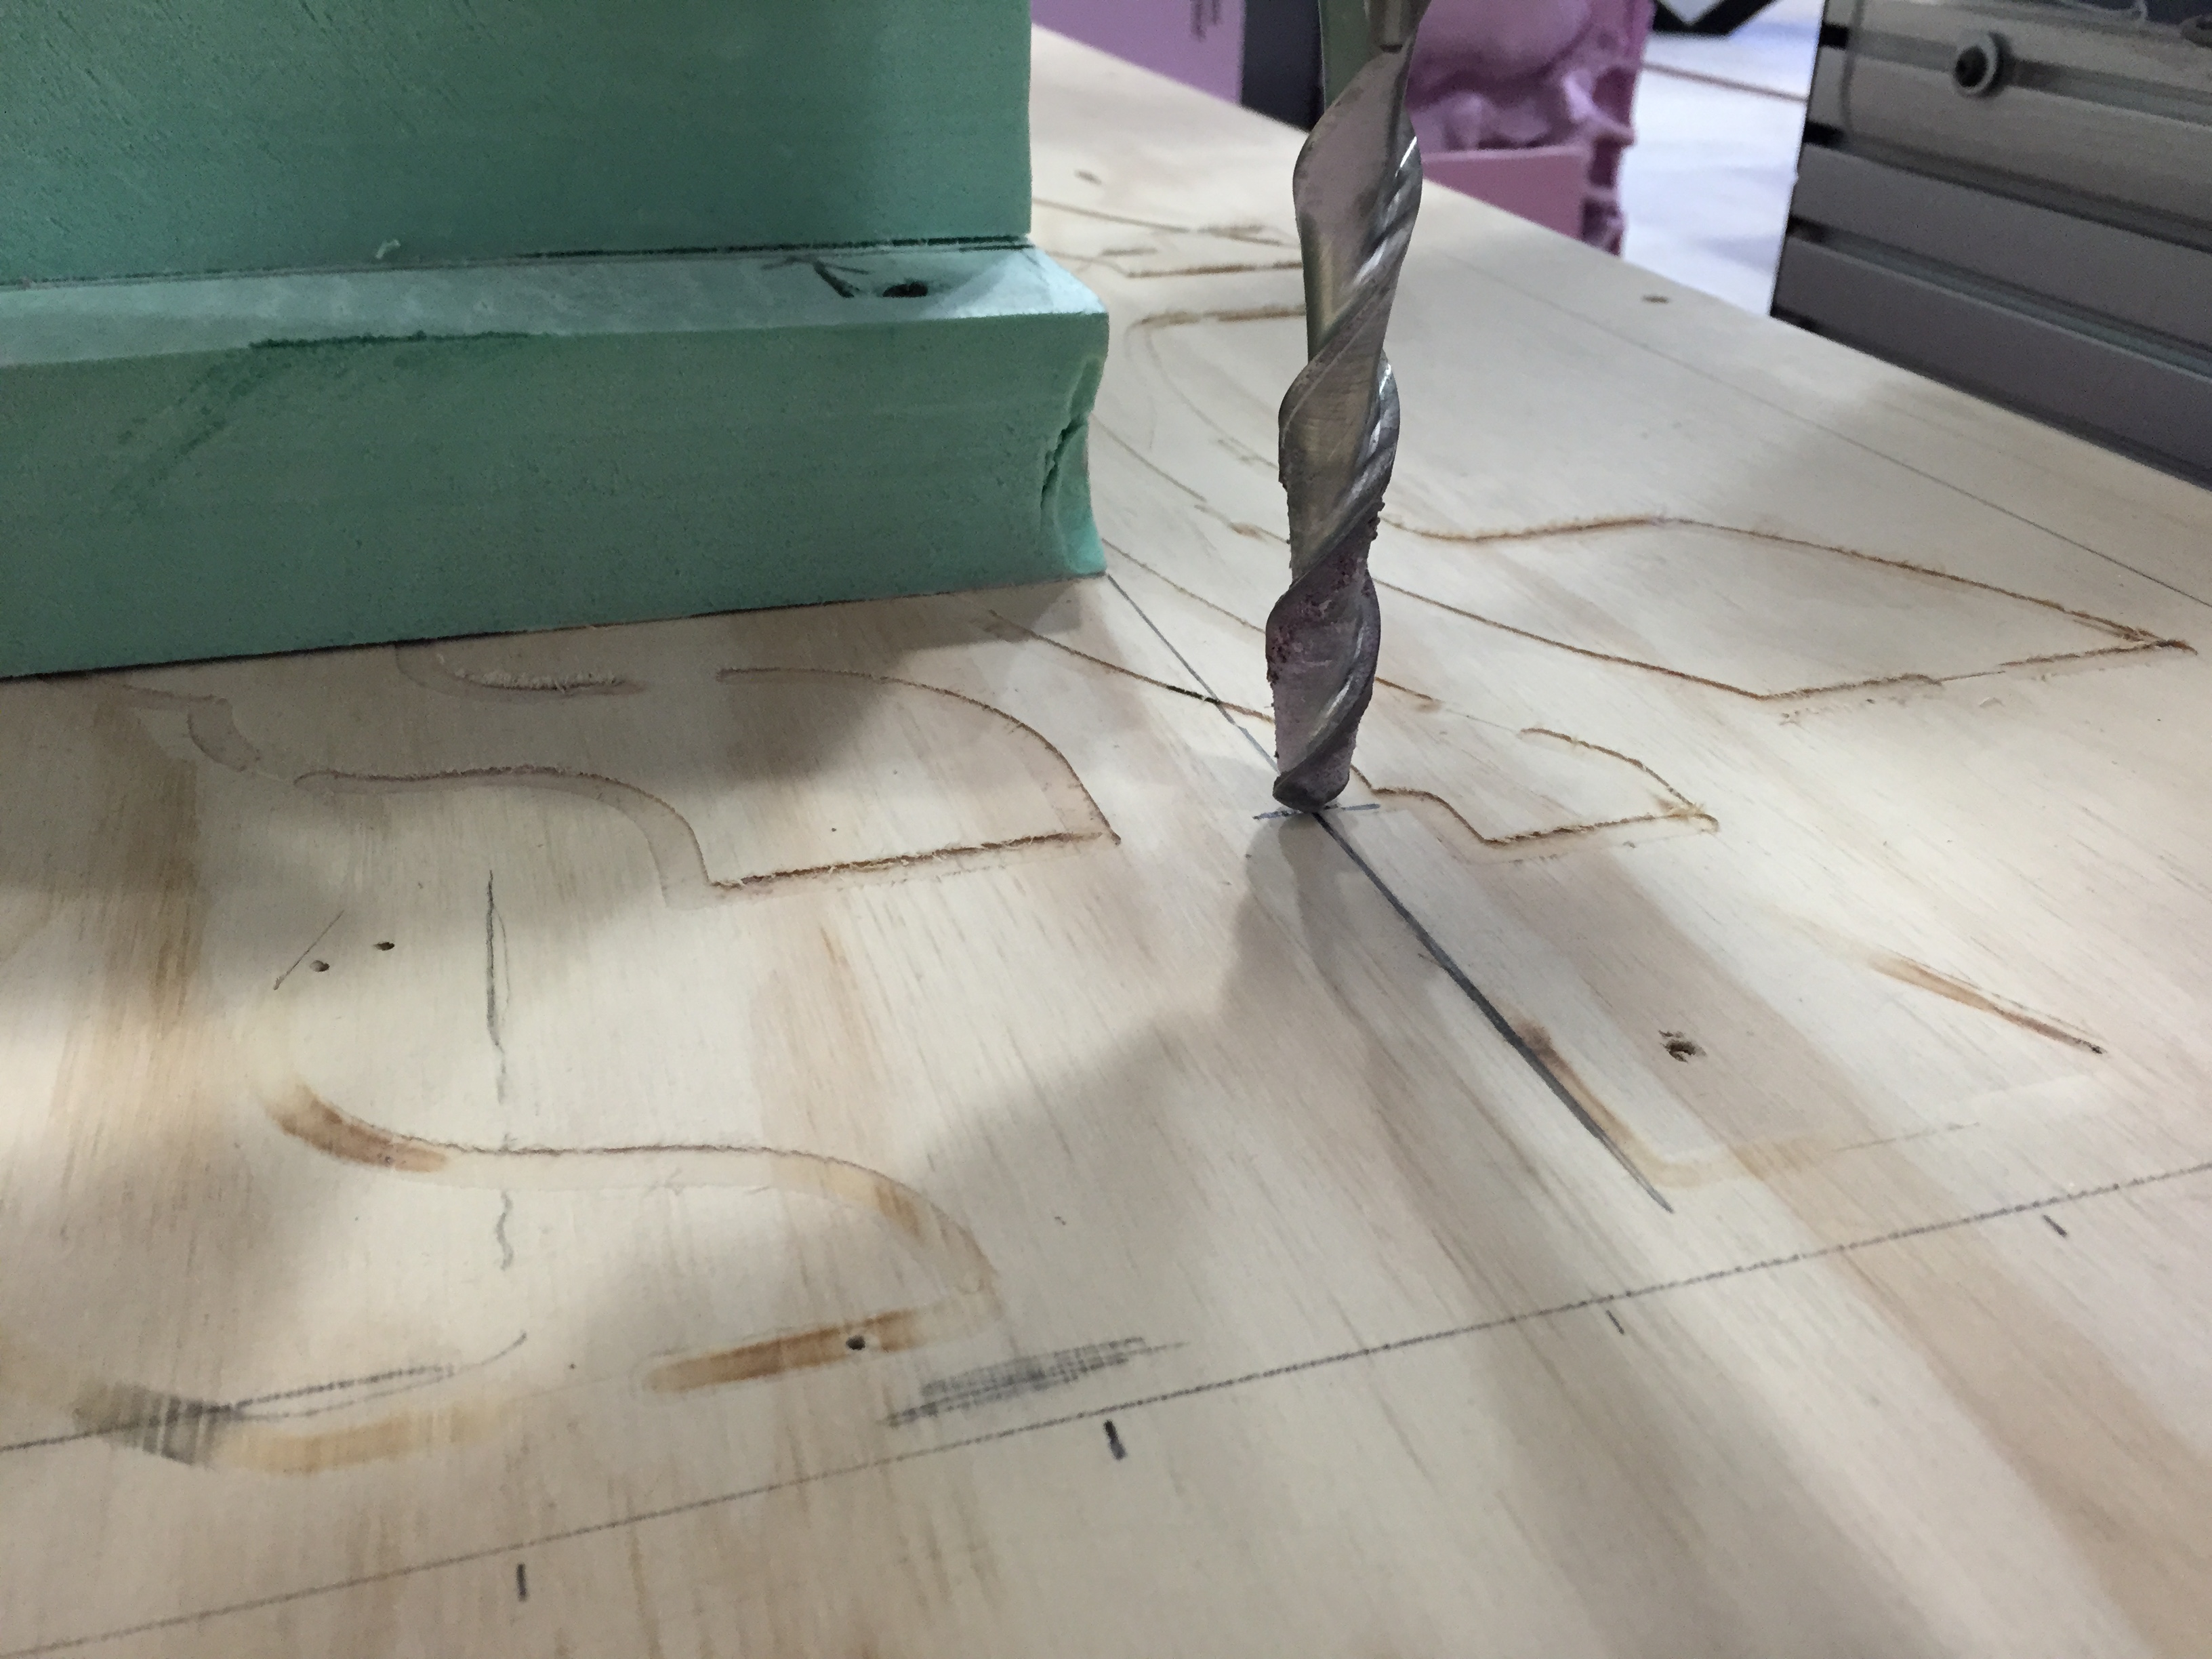
Figure 6. Setting the zero point
Figure 7. Successfully aligning the drill to the zero point
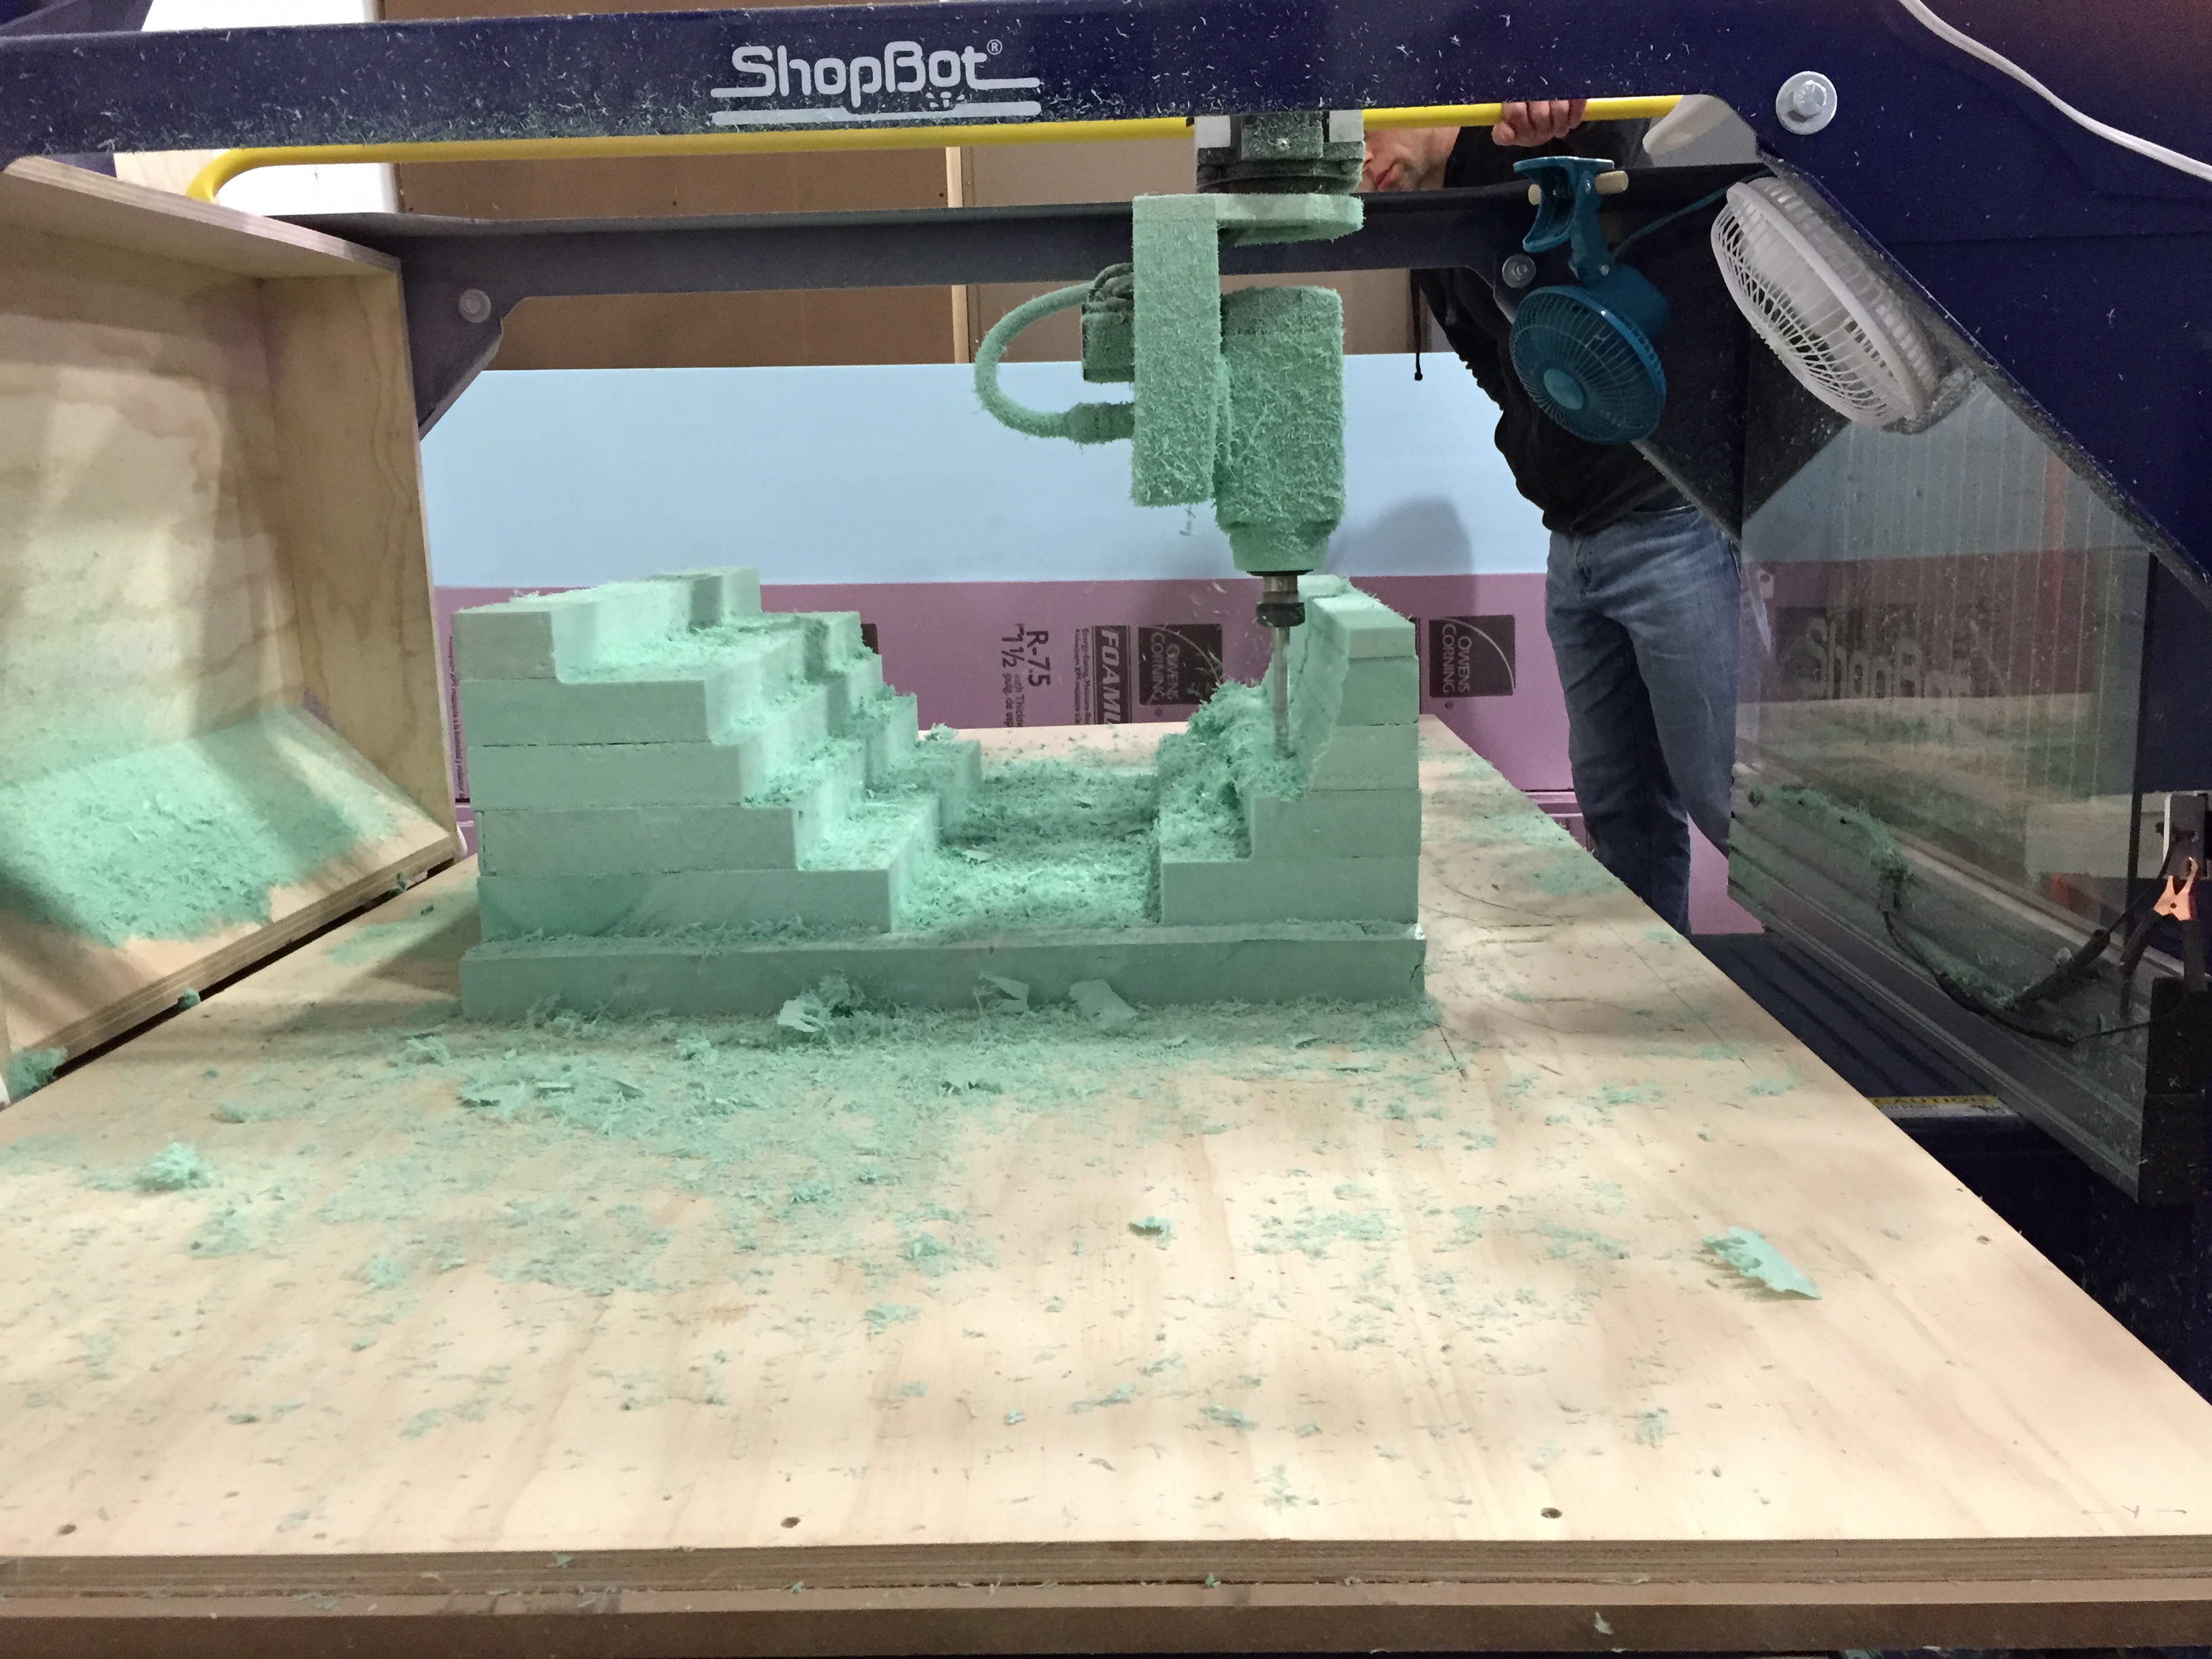
Figure 8. The rough cut
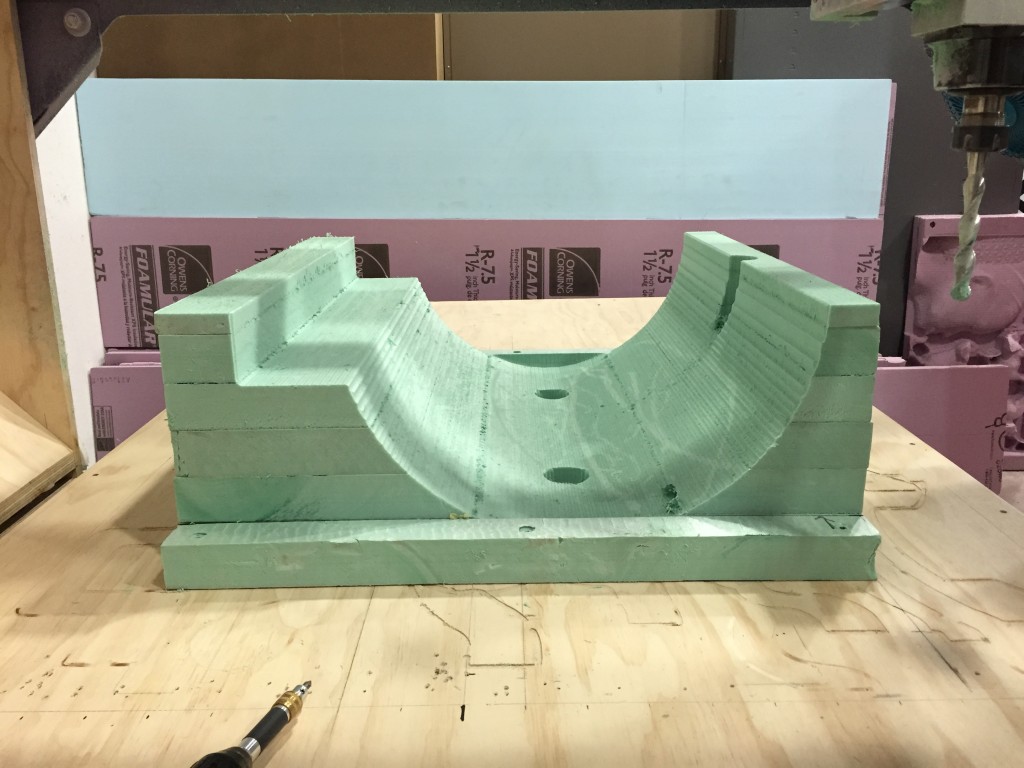
Figure 9. Finished piece.
